
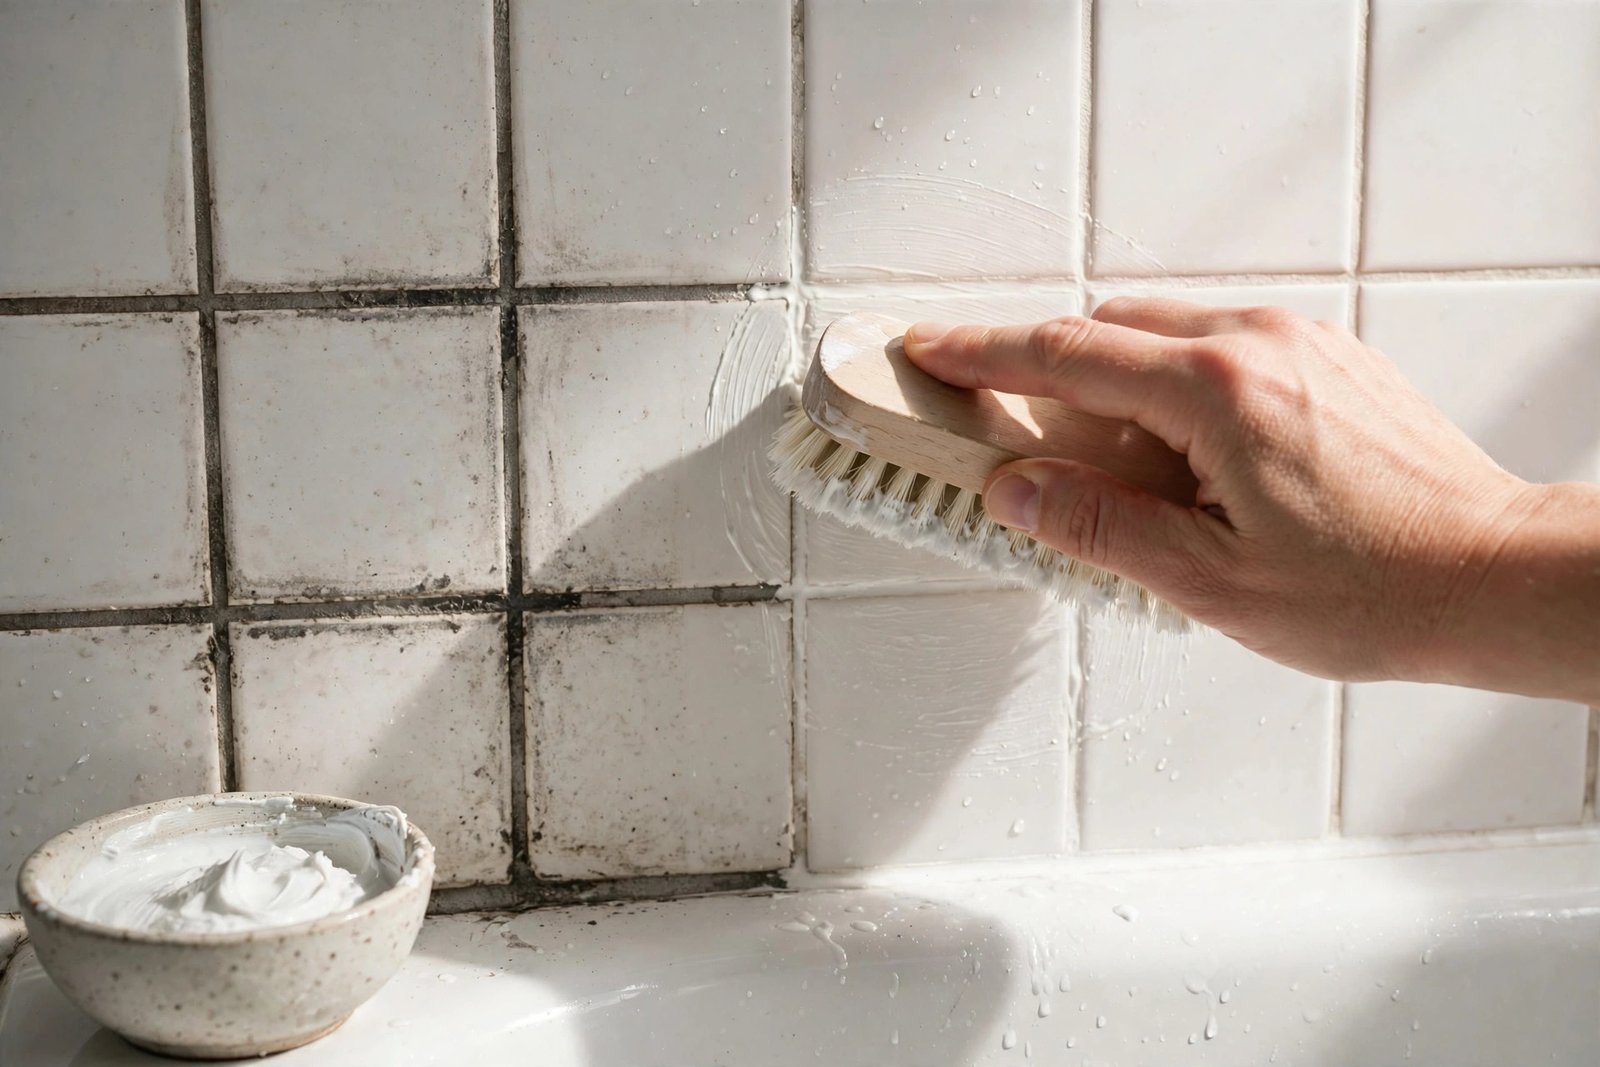
The Paste, the Brush, and Fifteen Honest Minutes
Our shower grout didn’t turn gray in a week. It went the way grout always goes — a shade darker every month, so slowly that I adjusted to it, until a plumber fixed a tap and I saw the one bright line behind the fixture he’d moved. That line was the original color. The rest of my “light gray” grout was dirty white grout wearing a year of soap scum.
I had tried the internet’s favorite first: spraying vinegar and scrubbing. It did almost nothing — and as I’ll explain below, vinegar on grout is a worse idea than it looks. What worked was a baking soda and peroxide paste, a stiff brush, and patience measured in minutes, not seconds.
Quick Answer
| Grout problem | Method |
|---|---|
| Lightly dingy, yellowed lines | Baking soda + water paste, scrub, done |
| Dark, stained lines (the usual case) | Baking soda + hydrogen peroxide paste, 10–15 minutes dwell, scrub |
| Black or pink spots on the surface | Same paste + scrub — that’s mildew living on soap scum |
| Black inside the caulk line | Cleaning won’t fix it. Strip and re-caulk |
| Marble, travertine, or stone tile | Skip vinegar and acidic cleaners entirely — pH-neutral cleaner only |
| Water soaks straight into dry grout | That’s a sealing problem — see the re-seal section |
Why Grout Gets Dirty (and Why Scrubbing Alone Fails)
Grout is essentially porous cement. Unlike the glazed tile around it, it has millions of tiny openings, and they drink in whatever passes over them — soap scum, body oils, hard-water minerals, and the mildew that feeds on all three. That’s why wiping grout feels pointless: you’re cleaning the surface of a sponge while the grime sits underneath it.
The paste works because it’s built for that porosity. Baking soda is a mild abrasive that gets into the texture without scratching tile and lifts the scum layer mechanically. Hydrogen peroxide does the whitening — as an oxidizer, it breaks down the organic stains and mildew discoloring the grout instead of pushing them around. Neither is magic; the brush work marries them into the pores.
What You’ll Need
- Baking soda — about 1/2 cup for an average shower
- 3% hydrogen peroxide (standard drugstore bottle)
- A teaspoon of dish soap (optional, helps the paste cling)
- A stiff grout brush, or an old firm toothbrush for tight lines
- A spray bottle of plain water
- Rubber gloves
- Microfiber cloths or an old towel for rinsing
- A small bowl for the paste
The Method, Step by Step
1. Start dry-ish and get the loose stuff off. Quick scrub of the dry lines with your brush, or a pass with the vacuum’s crevice tool. Loose grit just turns into mud the moment the paste lands.
2. Mix the paste. In the bowl: 1/2 cup baking soda, 1/4 cup hydrogen peroxide, 1 teaspoon dish soap. Stir to a peanut-butter consistency, adjusting with more soda or peroxide as needed. Make it fresh — peroxide loses its punch sitting around mixed.
3. Lay it on the lines. With the brush or a gloved finger, spread paste along the grout lines until they’re fully covered, working in sections of a few square feet. Don’t worry about the tile faces; a wipe handles those later.
4. Give it 10–15 minutes. This dwell time is where most people bail early, and it’s where the whitening actually happens. Badly stained lines can go 30 minutes. Mist lightly with water if the paste starts drying out.
5. Scrub — small circles, let the brush work. Short, firm strokes along the lines, then across them. The paste will turn gray as it loads up with grime — visual confirmation it’s pulling something out. Re-wet a section rather than pressing harder.
6. Rinse and inspect. Wipe down with a cloth rinsed in warm water, changing the water when it clouds. Dry with the towel — grout shows its true color dry, not wet. Lighter but not finished? A second pass on the worst lines fixes most of what’s left; in my shower, the bottom third needed it.
7. Let it dry completely. Fan on or window open. Judge the result only when fully dry — and allow 24–48 hours before any thought of sealing.
Got a Steam Cleaner? It’s a Legitimate Option
Steam loosens grime instead of dissolving it: run the nozzle slowly along each line — a fast pass does almost nothing — then wipe immediately before the loosened dirt resettles. It’s chemical-free and works well on floor grout. Two cautions: don’t blast cracked or crumbling grout, and don’t expect whitening — only the paste bleaches a stained line back to white.
The Vinegar Problem
Vinegar gets recommended for grout everywhere, and it has one real talent: as an acid, it dissolves hard-water mineral deposits. But it comes with three problems nobody mentions in the comments.
First, stone. Vinegar and other acidic cleaners etch marble, travertine, limestone, and onyx — dull patches that are dissolved surface, not dirt, and no scrubbing reverses them. The Natural Stone Institute’s care guidance says it plainly: products containing lemon, vinegar, or other acids may dull or etch calcareous stones. If your shower has stone anywhere in it, vinegar is off the table.
Second, the grout itself. Cement grout is alkaline, and repeated acid washes slowly eat it — lines get thinner, rougher, and better at holding dirt. As a weekly habit, it works against you.
Third, the sealant. Acid degrades grout sealer, the thin defense keeping the next round of grime out — so you end up cleaning more often for a worse result. The paste is my default because it sidesteps all three.
Mold vs. Mildew: Know Which One You’re Looking At
People use the words interchangeably; the fix differs.
- Mildew is the flat, powdery gray or pinkish film that grows on soap scum. It lives on the surface, and the paste-and-scrub method removes it completely. Most “grout mold” in a regularly used shower is this.
- Mold grows into porous material — darker, sometimes fuzzy, often black, and it can stain grout permanently even after the growth is gone. And when black shows up inside the silicone caulk around a tub, that’s not a cleaning problem at all: the caulk is colonized through its depth. No scrubbing reaches it. Cut it out and re-caulk — a 30-minute job, and the only fix that lasts.
For genuine mold on grout or tile, scrubbing with detergent and water does more than people expect — the EPA’s guidance on bleach and mold notes bleach isn’t recommended as a routine practice, and that dead mold still has to be physically removed anyway. If you do choose bleach for a stubborn patch on glazed tile: no more than 1 cup of household bleach per gallon of water, window open and fan on, gloves and eye protection — and never mix bleach with vinegar, ammonia, or any other cleaner. Those combinations produce toxic gases; this is the one safety rule here with no exceptions. Whatever you use, the lasting fix is moisture: run the exhaust fan during showers and for 20–30 minutes after. Mold that keeps returning is reporting a ventilation problem, not a cleaning one.
When to Re-Seal (and When Cleaning Is No Longer the Point)
After a deep clean, test your grout: sprinkle a few drops of water on a dry line. If the water beads on top, your sealer is alive. If it darkens the grout and soaks in within a minute or two, the sealer is gone — that’s your cue.
- Wait until the grout is fully dry — 24 to 48 hours after cleaning.
- Apply a penetrating grout sealer along the lines; wipe excess off the tile faces before it dries.
- In a daily-use shower, expect to repeat roughly every 1–2 years.
The honest limit: grout that’s cracked, crumbling, or missing in chunks can’t be sealed or scrubbed back to life. It needs to come out and be re-grouted.
My Honest Results
The shower floor lines came back about 90% of the way to white in the first session; the wall lines, less far gone, looked new. Two lines behind the faucet stayed faintly shadowed no matter what I did — staining under old, failed sealer, which only fully resolved when I later re-grouted that section. Start to finish, the first full treatment took about an hour, most of it dwell time and rinsing. Keeping it there was the cheap part: a 60-second squeegee of the walls after showers — part of my Home Cleaning Schedule — slowed the gray-down from months to well over a year.
Safety and Spot-Test Notes
Peroxide paste on colored grout: test one hidden line first and let it dry — “surprise two-tone grout” is a bad afternoon. Never mix the paste with vinegar (they neutralize each other and you get salty water and disappointment), and keep the mold section’s bleach rule in front of you if you go that route: bleach works alone or not at all. Gloves on — an hour of scrubbing in cleaning paste is rough on hands. The hub for every surface-specific method here is Complete Stain Removal Guide.
Frequently Asked Questions
Can I just use vinegar on my grout?
On ceramic or porcelain, occasionally, it brightens mineral deposits — but it slowly erodes cement grout, degrades the sealer, and must never touch marble, travertine, or other stone. The paste does the same job without the downsides.
How often should grout be sealed?
In a daily shower, every 1 to 2 years is typical. Don’t go by the calendar alone — do the water-drop test. If water soaks in and darkens the line, it’s time.
Is the paste safe on colored grout?
Mostly, with one test first. Peroxide is a mild oxidizer and can lighten some colored grouts. Test a hidden line, let it dry fully, and if the color shifts, use a water-based paste (baking soda and water, no peroxide) and skip the whitening.
Does a steam cleaner replace the paste?
It replaces the scrubbing on loose grime and works chemical-free, but it doesn’t whiten a stained line. For grout that’s clean but discolored, you still need the peroxide paste.
The black stuff in my caulk keeps coming back. Why?
Because it’s growing through the caulk, not sitting on it. Scrubbing removes the surface and leaves the colony. Cut the caulk out, clean and dry the joint, and re-caulk — the only permanent answer.
How bad can grout get before re-grouting is the only option?
When it’s cracked, crumbling under the brush, or missing in sections, cleaning has done all it can. Sound grout that’s merely stained is a cleaning job; failing grout is a repair job.
— Daniel Brown, The Tidy Apron