The worst stain of my life happened on a Tuesday. A full mug of coffee, a cream-colored carpet, and a dog who chose that exact second to sprint between my feet. I did everything wrong in the first five minutes — grabbed a colored towel, scrubbed like I was sanding a deck, and used hot water because hot felt more powerful. The stain survived. My panic made it worse, and the scrubbing spread it into a lovely brown amoeba shape that we looked at for two more years.
Here’s what I know now, after a lot of trial and a fair amount of error: almost every stain follows the same handful of rules, and the first ten minutes matter more than any product you own. You don’t need a cabinet full of specialty cleaners. You need a calm sequence — remove the excess, blot, treat based on what the stain actually is, rinse, and repeat with patience. This guide is the one page I wish someone had handed me that Tuesday. It covers the golden rules that apply to every stain, how to figure out what kind of stain you’re dealing with, and the right approach for carpet, clothing, upholstery, and hard surfaces — with links to my deep-dive guides for the stubborn ones.
The Quick Answer: The 5 Golden Rules of Any Stain
If you only read one section because something is soaking into your carpet right now, read this:
- Act fast. A fresh stain is a spill. An old stain is a project. The Carpet and Rug Institute says the same thing in politer words — delay can turn a spill into a permanent stain.
- Blot, never rub. Rubbing pushes the stain deeper and frays fibers. Press straight down with a clean white cloth, lift, move to a clean spot on the cloth, repeat.
- Test first. Every cleaner, including plain dish soap solution, gets tested on a hidden spot for 5–10 minutes before it touches the visible area.
- Work from the outside in. Start at the edges of the stain and move toward the center so you don’t spread it outward.
- Rinse and repeat instead of going stronger. Three gentle rounds beat one aggressive round almost every time. Cranking up the concentration or switching to a harsher chemical is how stains become damaged patches.
That’s the whole system. Everything below explains why these rules work and how to adjust them for the stain and surface in front of you.
Step One: Figure Out What Kind of Stain You Have
Stain treatments fail most often because the method doesn’t match the stain family. There are really only four families you need to recognize:
Tannin stains come from plants: coffee, tea, red wine, cola, fruit juice, tomato sauce. They carry natural pigments that bond to fibers. They generally respond well to a mild dish-soap solution and patient blotting, and most are easier than they look when fresh. My full walkthrough for the most dramatic member of this family is here.
Protein stains come from living things: blood, egg, milk, sweat, pet urine, vomit. The rule that matters most here is temperature — cold water only, at least at the start. Heat cooks protein into fabric the way it cooks an egg in a pan, and a cooked-in protein stain is close to permanent. Enzyme cleaners are made for this family. See the dedicated guide.
Grease and oil stains — cooking oil, butter, salad dressing, motor oil, makeup — repel water, which is why rinsing alone does nothing. They need a surfactant (dish soap is the household MVP here) worked in to break the grease up so water can carry it away. The full method, including stains that already went through the dryer, is here.
Dye stains are the troublemakers: mustard, permanent marker, hair dye, brightly colored drinks like Kool-Aid. The pigment is literally designed (or evolved) to color things. These need the gentlest expectations and sometimes a solvent like rubbing alcohol — and sometimes honesty: a few dye stains only fade, they don’t vanish.
When a stain is a mix — and most real ones are, like coffee with cream (tannin + protein + a little fat) — treat the protein/grease part first with cold water and soap, then the color part.
What You’ll Need: The Whole Kit Fits in One Caddy
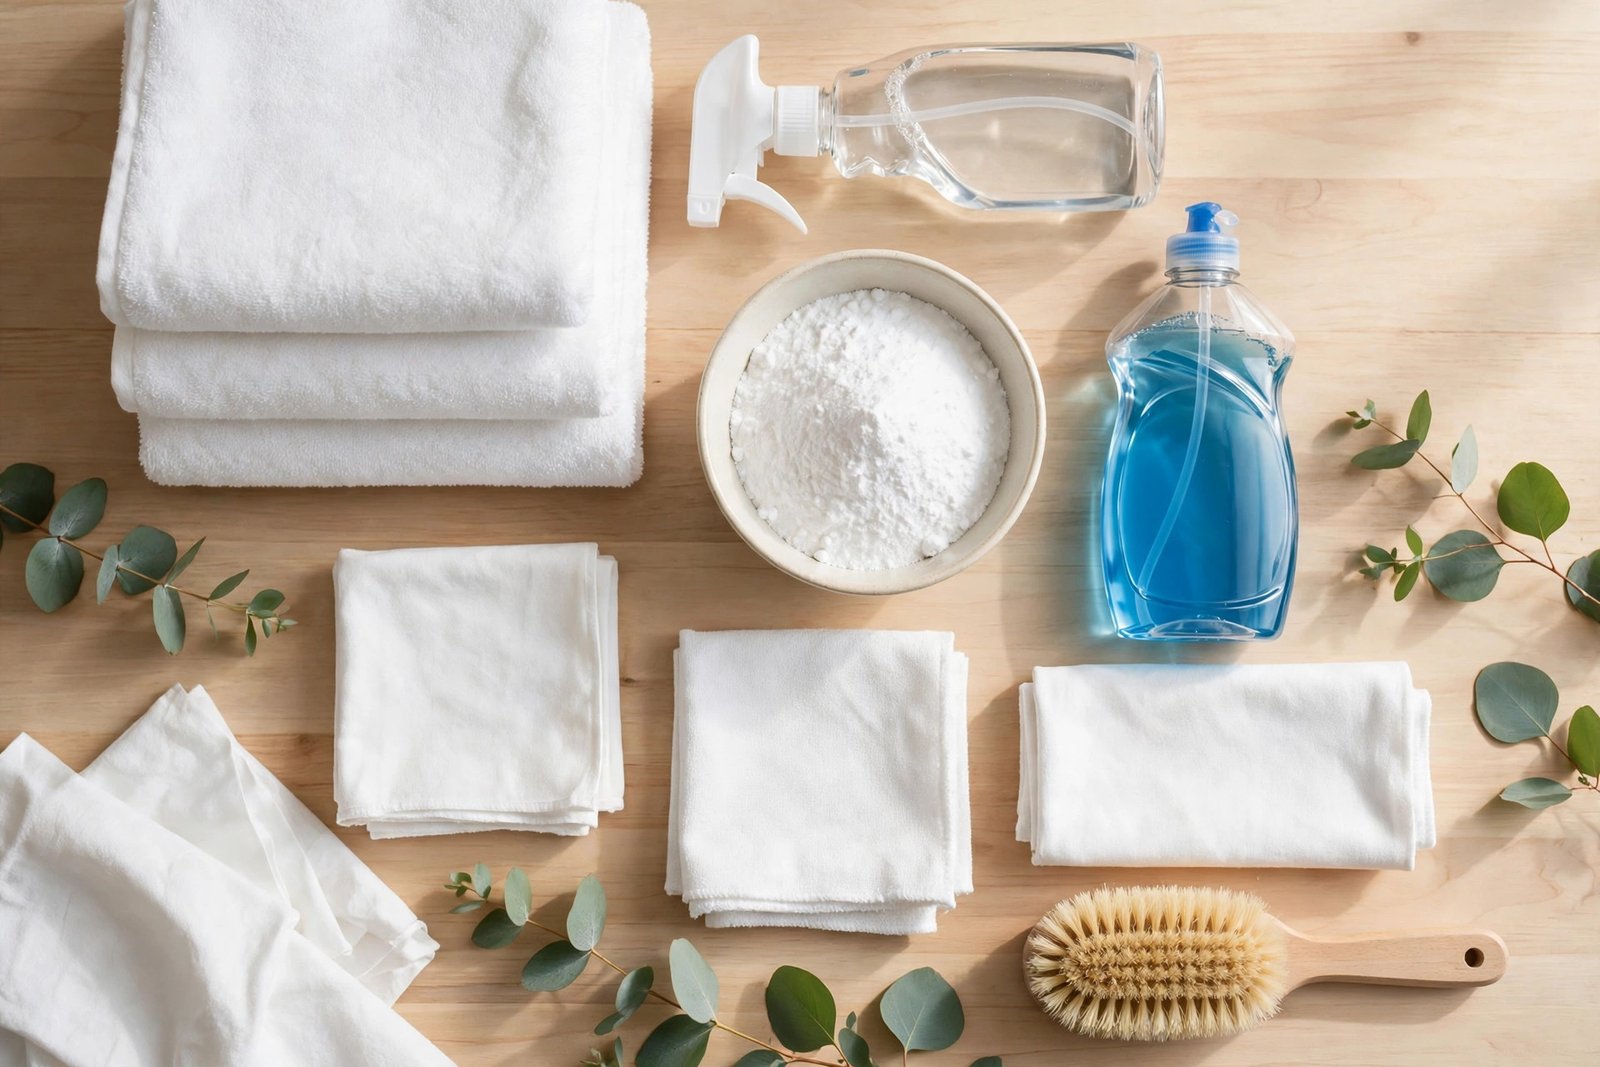
You do not need much. My stain kit, after years of buying things I didn’t need, is:
- White cotton cloths or white paper towels (white only — colored cloth can transfer dye onto a wet stain)
- A spray bottle
- Clear dish soap (the plain kind, no dyes or lotions)
- Hydrogen peroxide, 3% (for whites and colorfast fabrics — more on the limits below)
- Rubbing alcohol (isopropyl, 70% or 91%)
- White vinegar
- Baking soda
- An enzyme cleaner (one bottle, store-bought, for protein stains and pet messes)
- A spoon and an old credit card for scraping
- Cold water and patience — genuinely, patience is an ingredient
One safety line that outranks everything else in this guide: never mix bleach with vinegar, and never mix bleach with ammonia. Those combinations create gases that can seriously hurt you. One cleaner at a time, rinsed away before you try another. I keep bleach out of my stain routine almost entirely because of this — the methods below don’t need it.
Carpet and Rugs: The Method in Brief
Carpet is where stains feel most urgent, because you can’t throw it in a wash. The full, detailed walkthrough lives here. The short version:
- Scoop or scrape up solids with a spoon, working inward.
- Blot liquids with a white cloth until no more transfers.
- Mix 1 tablespoon clear dish soap in 2 cups cold water.
- Apply a little solution with a cloth — damp, not soaked. Blot. Repeat.
- Rinse by blotting with plain cold water so no soapy residue stays behind (leftover soap attracts dirt and creates a new dark patch — ask me how I know).
- Weigh down a stack of white paper towels over the spot for a few hours to wick out the last moisture, then vacuum.
Wool rugs and silk or antique rugs are the exception to everything above: stop at blotting with plain cold water and read the professional section below. Water-based soap solutions can damage them, and they are too expensive to learn on.
Clothing and Fabric: The Method in Brief
Clothes give you one advantage carpet doesn’t: a full soak. The complete laundry guide is here. The essentials:
- Scrape off the excess and rinse the stain from the back of the fabric with cold water, so you’re pushing the stain out the way it came in, not through.
- Work in a few drops of liquid laundry detergent or clear dish soap with your fingers.
- Let it sit 10–15 minutes for fresh stains; soak protein stains in cold water with enzyme cleaner for 30 minutes to a few hours.
- Wash on the warmest setting the care label allows.
- Check before the dryer. This is the step people skip and regret. Dryer heat sets most stains permanently. If the stain is still there after washing, treat again and air-dry. When the university extension folks give laundry advice, this is the point they repeat most — Iowa State’s AnswerLine says the same: inspect wet laundry before drying, because heat sets the stain.
A note on hydrogen peroxide, since it’s the internet’s favorite answer: 3% peroxide is genuinely good on blood and many organic stains on white cotton. On colored fabrics it can pull the dye right out, leaving a bleached spot that’s worse than the stain. Hidden-test it, or skip it on anything you care about.
Upholstery and Furniture: Same Rules, Less Water
Sofas and mattresses can’t be rinsed and can’t be soaked, so the method shrinks: less liquid, more blotting.
- Check the tag first. W means water-based cleaners are fine. S means solvent only. WS means either. X means vacuum only — stop there and call a pro for anything beyond a dry spill.
- Use the dish-soap solution sparingly, applied with a cloth rather than poured.
- Blot in small sections, then “rinse” by blotting with a cloth dampened in plain water.
- Dry it properly — aim a fan at the spot. Slow-drying upholstery is how you trade a stain for a musty smell, which is its own project (see the odor battle).
Hard Surfaces: Grout, Counters, Tile, and Wood
Hard surfaces forgive more, but they have their own traps. Grout is porous — it’s really a stain sponge wearing a stone costume — and it needs dwell time and a stiff brush more than strength; my step-by-step is here. Stone counters (granite, marble) are the opposite: keep acidic cleaners like vinegar and lemon away from them, because acid etches the surface and the “stain” becomes permanent dullness. Finished wood sits in between: blot spills immediately, skip soaking, and never let a wet cleaner sit on it.
What NOT to Do — The Mistakes That Make Stains Permanent
- Don’t reach for hot water first. On protein stains it sets them. Cold is the default until you know what you’re dealing with.
- Don’t scrub. You’ll fray carpet fibers into a fuzzy patch that shows even after the color is gone.
- Don’t use a colored towel or printed paper napkin on a wet stain. Dye transfer is real and embarrassing.
- Don’t stack chemicals. Trying vinegar, then peroxide, then a store spray on the same spot without rinsing between them ranges from useless to genuinely dangerous. One at a time.
- Don’t use bleach on carpet or colored fabric unless the product is made and labeled for exactly that. One splash can remove the carpet’s own color, and that doesn’t come back.
- Don’t put a stained garment in the dryer “to check later.” Later doesn’t exist after dryer heat.
- Don’t use dish soap on everything at full strength. Too much soap left in carpet becomes a dirt magnet. Rinse-blotting matters as much as the cleaning itself.
I’ll be honest about one from my own history: I once treated a red wine spill with one of those “oxy” sprays, got impatient at the two-minute mark, added a second product on top, and ended up with a pink halo that took four more sessions to fix. The first product was working. Stain removal is slow television — blotting, waiting, blotting again. Every bad result I’ve had came from hurrying.
Honest Results: What This System Can and Can’t Do
Fresh stains treated within the hour: I’d estimate most come fully out with the basics above — wine, coffee, mud, food, most pet accidents. Dried stains: slower, and expect 70–90% improvement over multiple sessions rather than a miracle. Old dye stains and anything that’s been through a hot dryer: sometimes the realistic win is “nobody notices it but you.” Anyone who tells you every stain comes out is selling something. What I can promise is that this system won’t make a stain worse, and that alone puts you ahead of most frantic first attempts.
For specific stains, start with the deep dives: red wine, coffee, grease, pet urine odor, blood, and grout. And if your real problem is that messes keep winning because there’s no routine, that’s the other half of this site.
When to Call a Professional
Stop and call a pro when:
- The item is valuable, antique, silk, or wool and the stain is big or deeply set
- The tag says “X” or “dry clean only” and the stain is more than a light spill
- You’ve done three patient rounds with zero improvement — the remaining stain may need extraction equipment or professional solvents
- The stain involves anything hazardous (chemicals, bodily waste in quantity, mold) — that’s beyond blog advice
- It’s a rental and the deposit matters more than your pride
There’s no shame line here. I’ve paid a carpet cleaner exactly once, for a mystery stain from the previous owners of our house, and watching his extraction machine pull gray water out of “clean” carpet taught me plenty about my own limits.
Sources I Trust for This Stuff
I keep two references bookmarked and you should too. The Carpet and Rug Institute — the carpet industry’s own body — publishes a spot-removal guide built on exactly the blot/test/outside-in method above: their per-stain walkthroughs (like this one for dye-heavy spills, Carpet and Rug Institute — Kool-Aid spot removal) are the least salesy carpet advice on the internet. For laundry, Iowa State University Extension’s AnswerLine has plain, tested guidance with no products to sell: Iowa State Extension AnswerLine — stain removal notes.
FAQ
What is the single best stain remover to keep at home?
If I could keep only two: clear dish soap (for grease and general stains, diluted in cold water) and an enzyme cleaner (for protein stains like blood, sweat, and pet messes). Between them they cover most of what happens in a real house. Specialty products are mostly refinements of those two ideas.
Can an old, dried stain still come out?
Often, yes — partially, and sometimes fully. Rehydrate it first: lay a cloth dampened with cold water over the spot for 15–20 minutes, then treat it as a fresh stain. Protein and grease stains respond best to soaking and enzyme products. Dye stains and dryer-set stains are the realistic exceptions.
Is vinegar a good stain remover?
It’s useful for some jobs (mineral deposits, some odor neutralization, a rinse for certain carpet stains) but it is not a universal stain remover, and it can set some dye-type stains and damage stone. Treat it as one tool, not the toolbox. And again: never combine it with bleach.
Why did my stain come back a week later?
Usually “wicking” — the spill soaked down into the carpet padding, you cleaned the surface fibers, and as the carpet dried the stain wicked back up. The fix is patience: rinse well, then weight down a thick stack of white paper towels for several hours to pull the deeper moisture (and stain) up and out.
Should I use hot or cold water on stains?
Cold, as your default. Cold water is safe for every stain family. Warm or hot water is only an upgrade for grease stains on washable fabric after you’ve treated them — and it’s flat-out harmful on fresh protein stains like blood and egg.
Written by Daniel Brown — home-tested methods, honest results, and a strong belief that panic is the only real stain emergency. Last updated October 2026.